How to Fit Alloygators
If you need to to learn how to fit AlloyGators, then you’ve come to the right place.
Many of our customers choose to have their AlloyGators professionally fitted by an AlloyGator-trained and trusted 5 Star Fitter. Click here to search for AlloyGator fitters near you and see why 5 star fitting may be the right option for you.
If you prefer a hands-on approach and want to fit the product yourself, then follow our detailed AlloyGator fitting instructions below. These instructions will guide you through the entire AlloyGator install process, thereby ensuring a smooth and effective installation. This can help lower your AlloyGator fitting cost.
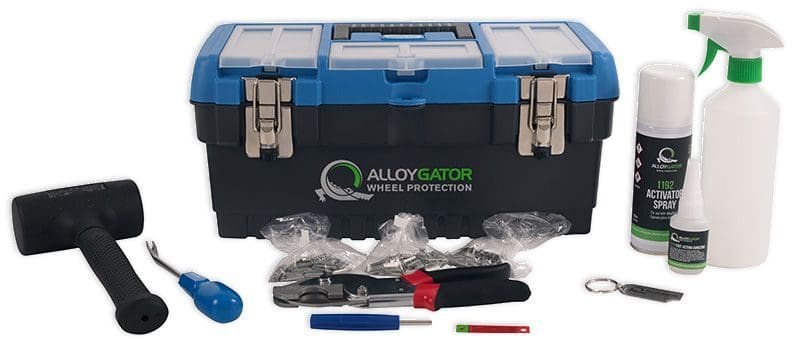
Don’t forget to pick up a Premium AlloyGator DIY Fitting Kit, which includes all the tools and accessories you need for fitting AlloyGators. For those curious about the AlloyGator fitting cost, you will find that our DIY kit offers great value.
Watch How to fit alloygators yourself
How to fit AlloyGators
Welcome to our comprehensive guide on how to fit AlloyGators! With our step-by-step alloygator fitting instructions, you’ll be able to install your alloygator wheel protectors with ease. Follow these steps and ensure your alloy wheels are protected and stylish in no time.
Step 1
Use the suitability gauge to determine if you vehicle is suitable for AlloyGators.
See video above.
After that, identify your wheel size from the tyre sidewall.
Step 2
Jack up the vehicle until the
wheel is clear of the ground. Fully
deflate tyre.
Insert the stainless steel clips serrated edge first into the AlloyGator up to the correct size. Ensure the clips fit flush into the slot and retaining groove. See video above.
Step 3
Spray or wipe rim and tyre with
mild soapy water.
Starting at the valve, insert the end of the AlloyGator with the hole in, (tab-end) between the rim and tyre and firmly tap in with mallet. See video above.
Step 4
Working anti-clockwise, firmly tap the top of the AlloyGator with the mallet, striking towards the centre of the rim making sure it is in as far as it will go.
Continue tapping the AlloyGator between the wheel and tyre around the rim until it overlaps back at the valve. Mark the overlapped section section in line with the first tooth on the tab end.
See video above.
Step 5
Pull the overlapped end back from the rim and using cutters or secateurs, cut at the mark to remove the excess. Gently tap the AlloyGator back into position making sure the ends mesh together along the locking teeth. Before tapping all the way in, run a small amount of glue along the teeth between the two ends. Firmly tap them into place hitting at a right angle to the wheel to make sure that the ends line up with each other. See video above.
Step 6
Working anti-clockwise, and hitting away from the centre of the rim, seat the AlloyGator onto the wheel all the way round. Do the same
for the joint using a square-on blow across both ends at the same time ensuring you apply equal pressure. Avoid hitting one side more firmly than the other.
Inflate tyre to 10–15 psi and repeat for another rotation.
Step 7
Re-inflate the tyre in accordance with your vehicle handbook and again hitting away from the centre of the rim, seat the AlloyGator into its final position. There should be a slight gap but no more than a 1mm between the AlloyGator and the wheel. ensure that you do not have a gap at the back of the AlloyGator between it and the tyre. See video above.
Step 8
To fit the joint cover apply 4-6 dabs of glue evenly onto the underside of the cover and push the peg that is on the underside into the hole in the AlloyGator. Hold in place for 20 seconds. Lower the wheel to the ground and remove jack. Repeat above until all wheels are protected. See video above.
Step 9
Vehicle tyre pressures should be checked an hour after fitting to ensure there is no loss of air and then at regular intervals in accordance with your vehicle handbook. If you damage your AlloyGator please refer to our care advice and 'How To' videos.
That's it!! You can now drive safely know your wheel and tyres are protected.
AlloyGator Limited is a part of AlloyGator Group Ltd. If you would like to see the latest news from the group, please head over to AlloyGator Group News for more information.